When your roof leaks, the issue isn’t always with the shingles. More often than not, the problem starts with the flashing. Roof flashing repair is one of the most critical parts of your roofing system—and also one of the easiest to overlook. If you’re experiencing leaks, moisture in the attic, or water stains on your ceilings, damaged or missing flashing might be the reason.
In this post, we’ll break down exactly what a professional roofing contractor does during roof flashing repair, how the roof flashing installation process works, and when to bring in a qualified roofing company to get the job done right.
What Is Roof Flashing and Why Is It Important?
Roof flashing refers to thin metal strips, often made of aluminum, galvanized steel, or copper, that are installed around the most vulnerable parts of your roof. These are areas where two surfaces meet or where there’s a penetration through the roof deck, such as chimneys, skylights, vents, or valleys between roof planes.
The purpose of flashing is to channel water away from these joints and into the gutter system, preventing leaks and moisture damage.
When flashing is properly installed and sealed, it provides a strong barrier against rain and snow. But over time, it can rust, lift, crack, or become dislodged.
Poor installation, storm damage, and aging materials all contribute to flashing failure. That’s why keeping your flashing in good shape is just as important as maintaining your shingles.
How Do You Know Flashing Needs Repair?
You might not always see flashing problems from the ground, but there are some common warning signs to watch for. Water stains on your ceilings or walls, musty smells in the attic, or visible rust and gaps near roof features can all point to flashing damage.
You may also notice missing flashing or deteriorated sealant during a visual inspection. If you suspect anything is off, it’s best to call a trusted roofing company for a thorough evaluation before the next rainstorm makes things worse.
Step One: Inspection and Diagnosis
The roof flashing repair process begins with a detailed inspection. A professional roofing contractor will climb onto your roof and assess the condition of your flashing. They’ll look closely at areas around chimneys, vent pipes, skylights, roof valleys, and where two roof planes intersect.
If they find cracked caulk, rusted metal, loose fasteners, or evidence of water intrusion, they’ll document the damage and recommend either repair or replacement.
Sometimes, what looks like a flashing issue is actually a symptom of a larger problem. A good contractor won’t just slap on new flashing; they’ll make sure the entire roofing system is working together properly.
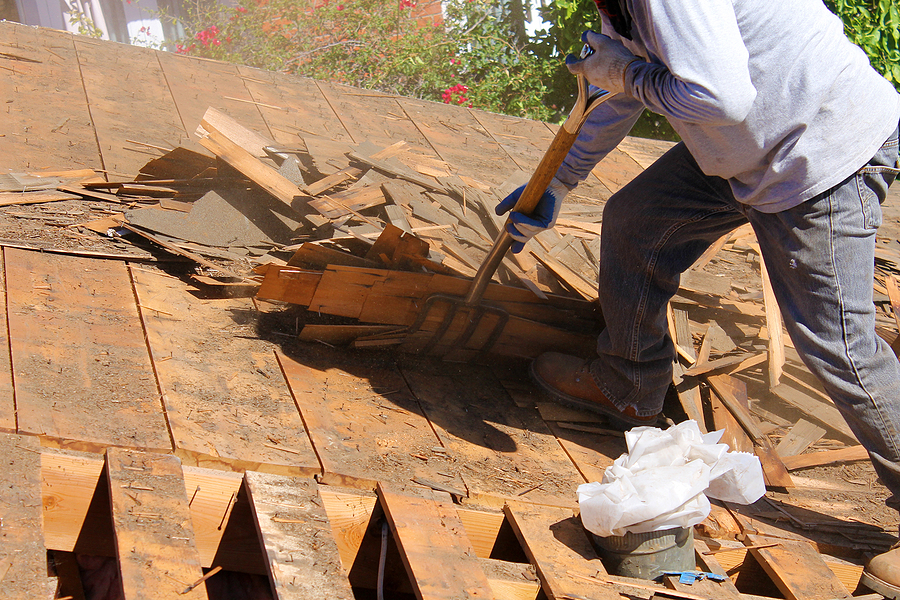
Step Two: Removing the Damaged Flashing
Once the damage is identified, the next step is to remove the problem areas. This involves carefully lifting shingles or roofing tiles to expose the existing flashing. Old or corroded flashing is pried up, and any sealant or nails are removed.
Precision is key here; contractors must be careful not to tear or damage the surrounding materials, especially if only a partial repair is being done.
It’s not unusual to find rot or moisture damage underneath bad flashing. If that’s the case, the contractor will remove any saturated underlayment and inspect the roof deck for structural concerns.
Step Three: Repairing the Underlayment (If Necessary)
If water has made it past the flashing and into the underlayment, that layer will need to be replaced before new flashing can go in. The underlayment is what helps protect your home between the outer roofing layer and the roof deck itself.
A contractor will cut out the damaged sections and replace them with new waterproof material to restore the integrity of the roof. Skipping this step could lead to future leaks, even with brand-new flashing installed.
Step Four: New Roof Flashing Installation
Next comes the roof flashing installation phase. Depending on the area being repaired, the contractor will choose the appropriate type of flashing. Step flashing is often used for chimneys and dormers, while continuous flashing may be needed for roof edges or sidewalls. In valleys, a wide piece of valley flashing is installed to help water flow into the gutters.
Each piece is measured and cut to fit precisely, then secured using roofing nails or screws. Flashing must be layered correctly, always under the shingles above and over the shingles below, to create a proper drainage path. The edges are sealed with a durable roofing cement or caulk to prevent water from slipping underneath.
Step Five: Sealing and Waterproofing
After the flashing is installed, all seams and edges are sealed with a high-grade, weatherproof caulk or roofing sealant. This adds an extra layer of protection against wind-driven rain.
Around tricky areas like chimney corners or vent boots, contractors will reinforce joints to ensure there are no weak spots.
Flashing that isn’t sealed properly can allow water to seep in over time, especially during freeze-thaw cycles. That’s why professional attention to detail makes such a difference.
Step Six: Reinstalling or Replacing Shingles
With the new flashing in place, the final step is to relay any shingles or roofing tiles that were removed during the repair. Contractors ensure they’re aligned with the rest of the roof and securely fastened to prevent lifting or shifting.
If some of the shingles were too damaged to reuse, they’ll replace them with new ones that match as closely as possible.
This part of the process not only protects the new flashing but also helps maintain the curb appeal and functionality of your roof.
Final Walkthrough and Cleanup
Once everything is installed and sealed, the roofing contractor performs a final inspection to ensure the repair was successful. They’ll check for any gaps, loose nails, or soft spots, and verify that the water drainage pattern is working as intended.
After that, the crew will clean up debris, old flashing material, and leftover sealant. A responsible contractor always leaves your property as clean or cleaner than they found it.
When Is a Full Flashing Replacement Needed?
While many flashing issues can be addressed with targeted repairs, there are times when a full replacement is the smarter investment. If your roof is more than 15-20 years old, or if multiple areas of flashing are failing at once, a complete roof flashing installation might be necessary.
A reputable roofing company will help you weigh the costs and benefits so you can make an informed decision for your home.
Why You Should Trust the Pros
Flashing may look simple, but poor workmanship can lead to costly leaks, mold growth, and structural damage.
DIY repairs often skip important waterproofing steps or use the wrong materials for the climate and roof type.
By hiring an experienced roofing company, you ensure that your home is protected by durable, expertly installed flashing that will stand the test of time.
Get Flashing Repair Done Right with Atlas Roofing & Siding
Flashing is one of those roofing components that only gets noticed when it fails, but by then, water may already be inside your home. That’s why timely roof flashing repair and high-quality roof flashing installation are essential. A professional roofing company will not only fix the problem but also prevent future damage, saving you stress and money in the long run.
If your roof is showing signs of wear or you just want peace of mind before the next big storm, don’t wait. Get in touch with a team that puts protection first. Atlas Roofing & Siding is here to help.
Whether you need a minor fix or a full roof flashing installation, Atlas Roofing & Siding has you covered. Our team of skilled professionals brings years of experience to every job, using premium materials and proven methods to protect your home from the elements.
We serve Columbus, OH, and the surrounding area with dependable service and honest recommendations. Don’t wait for the next leak. Contact Atlas Roofing & Siding today for expert flashing repair and peace of mind.